This month, I submitted my first game to Steam. The process was more involved than expected, so I want to document what I learned in case it helps other first-time developers.
Joining Steamworks
Before I could upload anything, I had to set up a Steamworks account. That includes:
- providing bank information,
- paying the $100 submission fee,
- submitting tax documents, and
- verifying my identity with a photo of my ID plus a selfie holding it.
It’s a thorough onboarding process, but it moves quickly once you have all the documents ready.
Game build
The build side of Steamworks has a lot of moving parts: depots, launch options, install directories, and packages.
I created a depot for each supported platform (Windows, macOS, Linux):
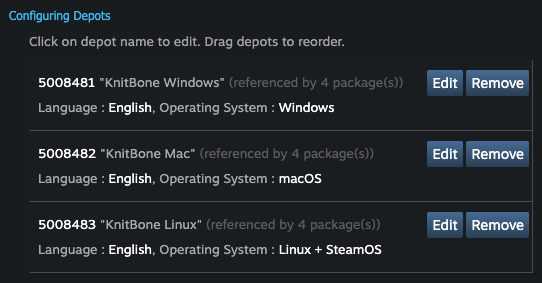
I was able to upload the depot contents as ZIP files through SteamPipe > Web Uploads since they’re less than 2048MB compressed:
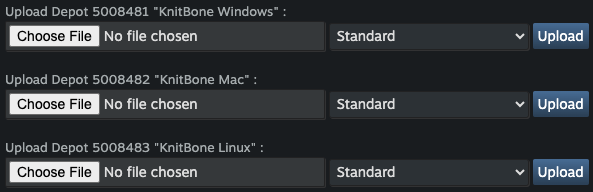
One thing I didn’t realize at first is that you must publish the build or several features will stay blocked.

Assets
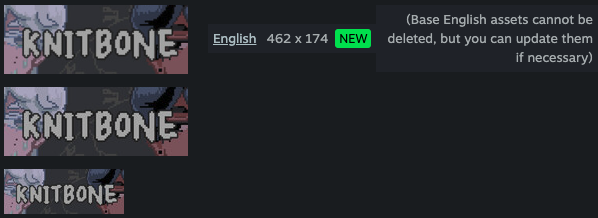
Steam needs a surprising number of images for the store page, library page, and events. I was able to reuse the same header image for both the store and library pages, but I had to create unique assets for everything else. Here’s the official documentation of all the graphical assets and you can download the templates from Dropbox.
For the trailer, I reused a trimmed version of my gameplay trailer. After uploading it, the conversion took several minutes, even though the file was not large, so it seems like the processing is queued rather than instant.
Installation and launch options
I added launch options for Windows, macOS, and Linux. The tricky part was making sure each executable path matched its depot exactly for my Ren’Py game named knitbone:
- macOS:
knitbone.app - Windows:
knitbone-1.1.0-win\knitbone.exe - Linux:
knitbone-1.1.0-linux/knitbone.sh
I also had to double-check the platform support settings to make sure the operating system flags lined up with the builds I uploaded.
Packages
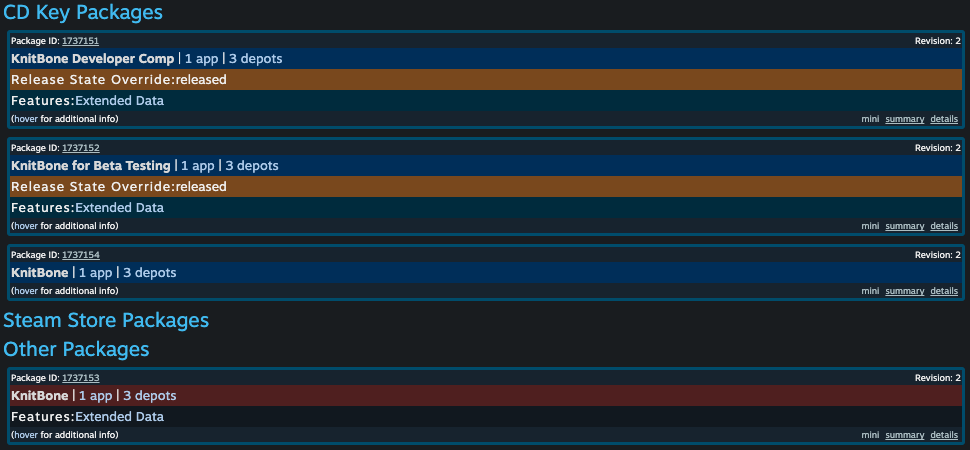
Packages were another place where it’s easy to miss a step. To complete the package setup, I had to make sure the Store and Devcomp packages matched and included depots for Windows, macOS, Linux, and SteamOS.
To fix missing depots, I went to Apps & Packages > View Packages, clicked each Package ID, and added the missing macOS and Linux depots.
Release
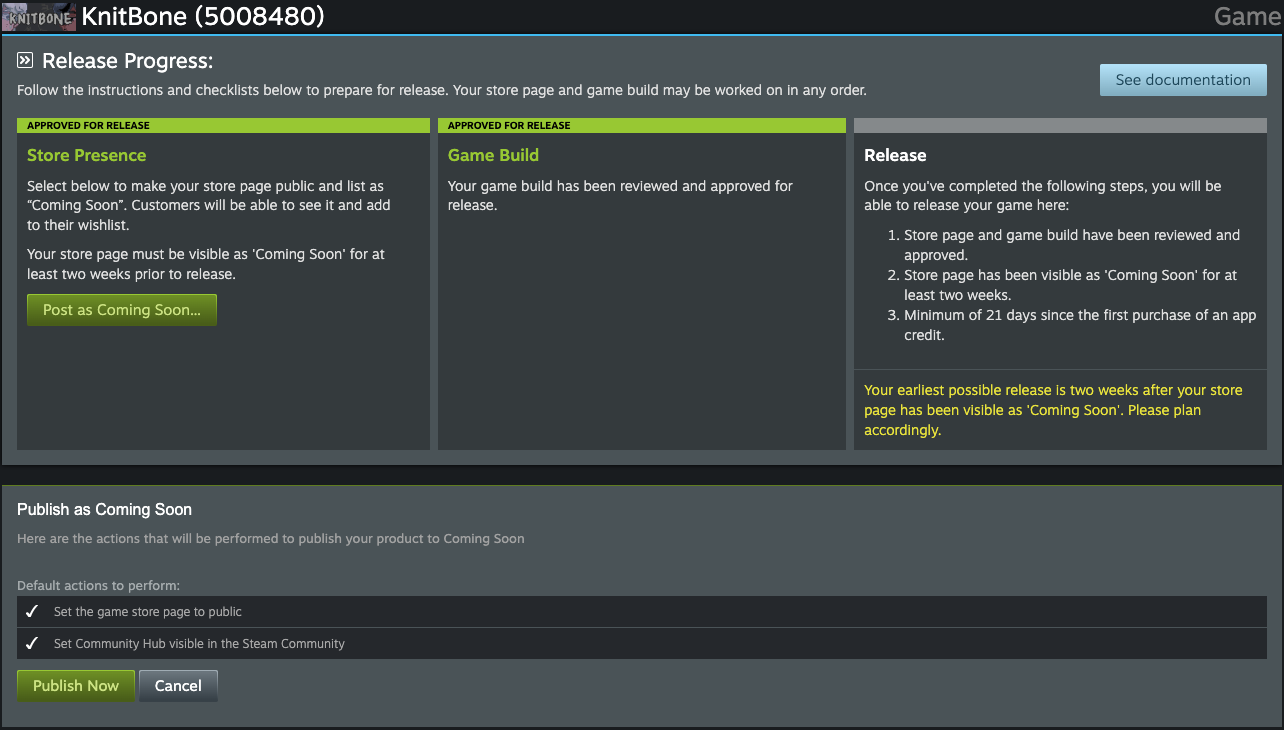
I submitted both the Store Presence and Game Build for review and they were approved within a week (it could take up to 2 weeks).
Then I published my store page as Coming Soon. That lets customers see the page and add the game to their wishlist, and it also satisfies Steam’s requirement of at least two weeks between when the store page becomes visible and the earliest possible release date.
Steamworks checklist
Here’s the checklist that Steam provides that serves as the minimum work items needed to prepare your application for release on Steam.
Your Store Presence
Required items for listing as “Coming Soon” as well as for full release.
Store:
- Basic Info
- Descriptions
- Content Survey
- Planned Release Date
- System Requirements
- Controller Support Description
- 5 or More Screenshots
- Capsule Images
- Library Assets
- Support Info
- Developer and Publisher Names
- Store Page Descriptive Tags
Community:
- App Icon
- Shortcut Icon
Your Game Build
This checklist, in addition to the one above, should serve as a list of the minimum work items to prepare your application for release on Steam. For a more comprehensive view of preparing for release on Steam, please see the Step-by-Step guide.
Store:
- Platform Support Matches
- Trailer Uploaded
- App Configuration
Depots:
- At Least One Depot Configured
- At Least One Build Configured
- Launch Options Defined
- Install Directory Set
- Depot Languages Configured
- Store and Devcomp Packages Match
- Package Includes Windows Depot
- Package Includes macOS Depot
- Package Includes Linux + SteamOS Depot
- All Depots Attached